
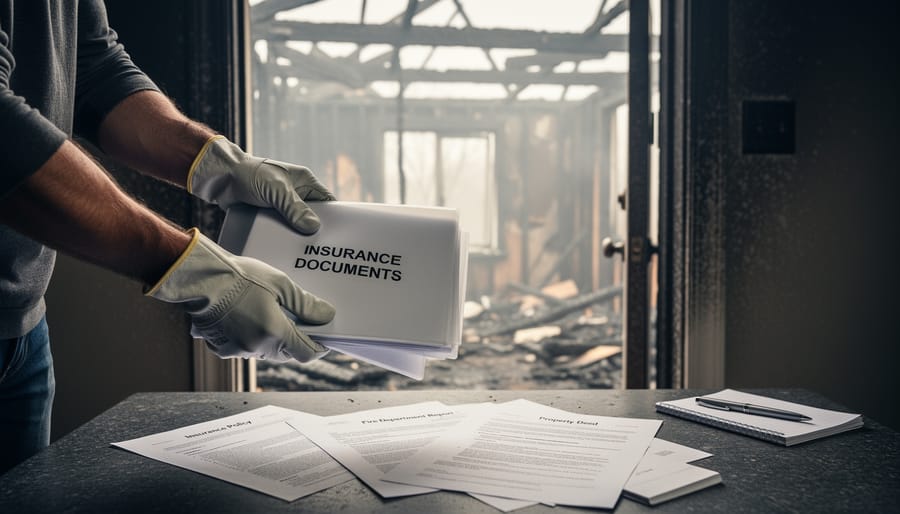
The first item to sort after a house fire is documentation, not debris. Before you touch a single charred beam or smoke-stained wall, secure your insurance policy, fire department report, and property deed. These papers control your ability to sell, claim compensation, and prove legal ownership. Only after documentation is gathered and your insurer has inspected the damage should you begin the physical sorting process, starting with structural safety verification, then salvageable valuables, followed by hazardous materials removal.
Most fire-affected property owners waste critical time and money by attacking the cleanup backwards. They haul out furniture before photographers document the loss. They discard items the insurance adjuster needed to see. They enter structurally compromised rooms without professional clearance, risking injury that delays the entire sale process by months.
The path from fire-damaged property to completed sale follows a strict sequence. Miss a step, and you’ll face claim denials, buyer liability issues, or council enforcement notices that can freeze your sale entirely. This guide walks you through the exact sorting order that satisfies insurers, protects you legally, and positions the property for the fastest possible transaction, whether you’re selling to traditional buyers or specialized fire damaged house buyers who purchase properties in as-is condition.
What You’ll Need Before You Begin
Before you step onto the property or begin any sorting, assembling the right equipment protects both your safety and your legal position. Walking into fire damage unprepared risks injury, contaminated evidence for insurance claims, and missed documentation that could cost you thousands when you sell.
Your preparation falls into four essential categories, each serving a specific function in the sorting process:
- Safety equipment: N95 or P100 respirator masks, heavy-duty work gloves, steel-toed boots, safety goggles, hard hat, and disposable coveralls to protect against soot, asbestos, and structural hazards
- Documentation tools: Smartphone or camera with full battery and extra storage, notebook and permanent markers for labeling, plastic bags for document protection, and portable lighting for dark areas
- Assessment materials: Measuring tape, moisture meter, flashlight or headlamp, clipboard for inspection notes, and colored tape or spray paint for marking zones
- Professional contacts: Fire damage restoration specialist, licensed structural engineer, certified public adjuster, hazardous materials assessor, and real estate attorney experienced with distressed properties
The documentation tools deserve particular attention because you cannot recreate the initial damage state once you start moving items. Your first walk-through photographs become the foundation of your insurance claim and the disclosure package buyers will review. Charge your devices fully and bring backup power if the property has no electricity.
Keep all safety equipment in a dedicated bag near your vehicle, not inside the damaged structure. Conditions can deteriorate rapidly, and you may need to exit and re-enter multiple times as you identify new hazards or restricted areas.
Have your professional contacts saved in your phone before the first site visit. If you discover structural instability, active smoldering, or suspected asbestos during your initial assessment, you need to stop immediately and call the appropriate specialist. This preparation list is not optional, it is the difference between a controlled sorting process and a dangerous, legally compromised situation that undermines your sale.
Critical Safety Warnings and Legal Requirements
Do not enter fire-damaged property until it’s officially declared safe by fire department personnel and structural engineers. What seems stable can collapse without warning, and invisible toxins in the air pose serious health risks that develop over time, not immediately.
Structural Hazards That Demand Professional Assessment
Fire weakens load-bearing elements in ways you can’t see. Scorched wooden beams lose up to 80% of their strength while appearing intact from the outside. Steel beams warp and lose structural integrity at temperatures above 1,000 degrees Fahrenheit. Concrete develops microcracks that compromise foundations. Before you step inside, hire a licensed structural engineer to evaluate the property, your safety and your legal liability if someone else gets hurt both depend on documented professional clearance.
Watch for sagging ceilings, leaning walls, cracked foundation walls, and floors that feel spongy or slope noticeably. If you see any of these, leave immediately and don’t return until repairs are complete.
Air Quality and Toxic Material Concerns
Burned building materials release carcinogens, heavy metals, and respiratory irritants that linger for weeks. Plastics, treated wood, insulation, and electronics create toxic ash that becomes airborne when disturbed. You need an N95 respirator minimum (N100 or P100 is better) before entering, and those only work if properly fitted, a dust mask from the hardware store won’t protect you.
Homes built before 1980 likely contain asbestos in insulation, flooring, and ceiling tiles. When fire disturbs these materials, asbestos fibers become airborne and cause lung disease decades later. You’re legally required to hire certified asbestos abatement contractors before disturbing these materials in most states, and doing it yourself creates both health risks and legal liability.
Insurance Documentation Requirements
Your insurance policy requires you to prevent further damage and document everything before cleanup begins. Take photos and videos of all damage from multiple angles before moving anything. Failure to document properly can result in claim denial or reduced payouts. Don’t throw anything away until your adjuster photographs it and approves disposal, even obvious trash. Keep a detailed inventory of damaged items with approximate values.
Most policies require written permission before you hire contractors for emergency stabilization. Get approval in writing via email before spending money, or you may not get reimbursed.
When to Stop and Call Professionals
Stop immediately if you encounter exposed electrical wiring, standing water mixed with electrical systems, strong gas smells, or areas where the floor gives under your weight. These situations require licensed electricians, plumbers, or structural specialists. Proceeding yourself risks electrocution, explosion, or fatal falls through compromised flooring.
Step-by-Step Sorting Process for Fire-Damaged Property
Step 1: Document Everything for Insurance and Sale Records
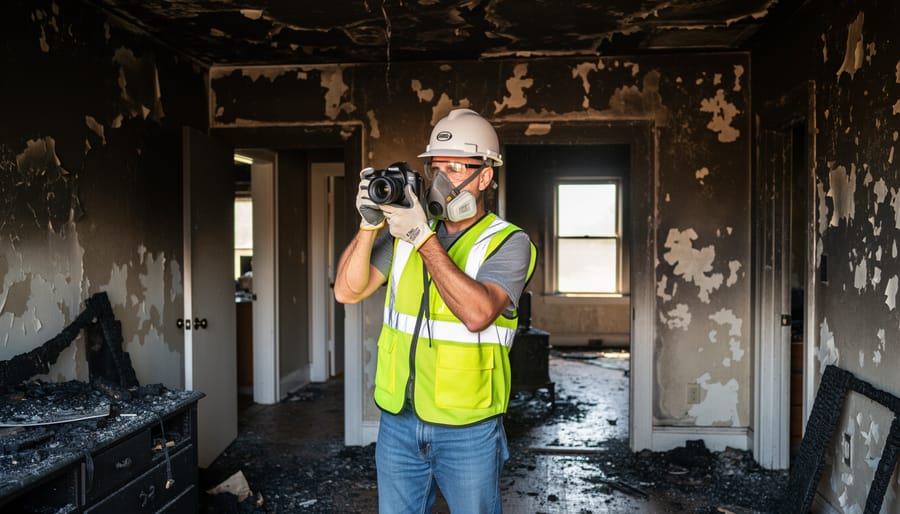
Before you move a single item or start cleaning, create a comprehensive visual and written record of every damaged area. This documentation serves two critical purposes: it protects your insurance claim from disputes and provides transparency that builds buyer confidence.
Start at the property’s exterior and work systematically through each room. Take wide-angle shots showing entire spaces, then capture close-ups of specific damage, charred walls, smoke staining, structural cracks, melted fixtures, and water damage from firefighting efforts. Photograph the same area from multiple angles, and include a ruler or common object in close-ups to show scale.
Record video walkthroughs while narrating what you’re seeing. This creates context that static images can’t capture: the extent of smoke smell, how doors hang, whether floors feel stable. Date-stamp everything using your camera’s settings or by holding a newspaper in the first frame.
Create a written log matching each photo to its location and damage type. Note what was in each space before the fire, what’s salvageable, and what’s destroyed. This inventory becomes invaluable when adjusting your insurance claim and later when buyers request disclosure details.
Save all files in multiple locations, cloud storage, external drive, and with your insurance agent. These images become your baseline. Later, when you improve listing photos for the sale, you’ll have the original damage documentation to support your pricing and prove you’ve disclosed the property’s history accurately.
Step 2: Secure and Remove High-Value Items
Once you’ve documented the damage, your next priority is securing items that hold personal or financial value before they’re further damaged, stolen, or create complications during the sale.
Start with essential documents: property deeds, insurance policies, tax records, and any renovation permits or warranties. These often survive in fireproof safes or less-damaged areas. Place them immediately in sealed plastic bags or waterproof containers to prevent mold and further deterioration.
Next, locate jewelry, heirlooms, electronics, and anything with significant monetary value. Even fire-damaged items may retain worth, partially melted gold can be refined, and smoke-damaged electronics sometimes contain recoverable data. Photograph each item’s location before removal to maintain your insurance documentation chain.
Remove personal items that could complicate the sale: family photos, medical records, financial statements, and anything identifying. Buyers don’t need access to your private information, and leaving these creates security risks.
Store everything in a climate-controlled location away from the property. Label containers clearly with contents and the room they came from, your insurance adjuster will need this organization. Consider a safety deposit box for irreplaceable documents and high-value items until your claim settles.
This step typically takes one to three days depending on property size and damage extent.

Step 3: Sort Structural Components and Building Materials
After documenting damage and securing valuables, you need to determine what’s structurally sound and what’s compromised, a critical assessment that shapes your entire selling strategy.
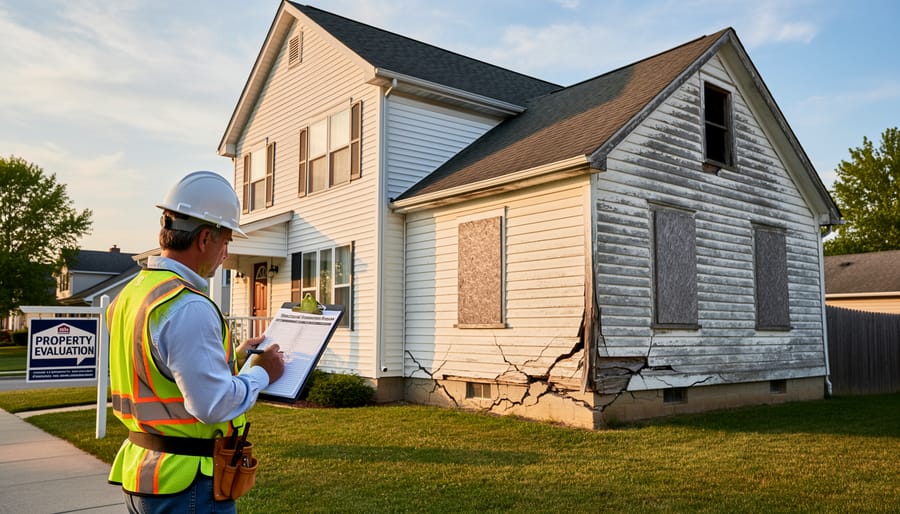
This step requires professional inspectors. You cannot assess structural integrity yourself. Schedule separate inspections for structural engineering, electrical systems, and plumbing. Most jurisdictions require these for fire-damaged property sales anyway, so commission them now rather than later.
The structural engineer examines foundation, load-bearing walls, roof framing, and floor joists. They’ll categorize elements as sound, repairable, or condemned. Fire weakens steel beams and compromises concrete; what looks intact may have lost load-bearing capacity. Request a written report with specific assessments for each major component.
For electrical systems, licensed electricians determine which wiring, panels, and fixtures survived. Heat degrades insulation and connections even when wires appear fine. Expect most electrical to require replacement in fire-affected areas.
Plumbing assessment identifies damaged pipes, fixtures, and water heaters. Intense heat can crack pipes inside walls or weaken joints that will fail later.
As reports arrive, create categories: “salvageable and worth preserving,” “repairable at reasonable cost,” and “must replace or demolish.” This categorization directly informs your selling approach. If the foundation and framing are sound but systems need replacement, you’re looking at partial repair or selling to investors. If structural elements are condemned, as-is sale to developers becomes your path.
These inspection reports become essential disclosure documents and justify your asking price to potential buyers.
Step 4: Categorize Debris for Removal
Once you’ve secured valuables and assessed structural components, establish clear debris categories to streamline removal and control cleanup costs. Creating designated zones prevents costly mistakes like accidentally disposing of recyclable materials with hazardous waste or missing items requiring special handling.
Start by physically marking four zones with spray paint or caution tape: hazardous materials, recyclables, general debris, and special disposal items. Hazardous waste includes asbestos-containing materials, lead paint chips, household chemicals, electronics, batteries, and treated lumber. These require licensed disposal contractors and cannot go in standard dumpsters, mixing them with general waste could result in fines and liability issues.
Your recyclable zone should contain metal fixtures, copper piping, aluminum siding, and intact concrete. Scrap metal dealers often collect these free or pay for larger quantities, offsetting your disposal costs. General debris, charred drywall, non-toxic burnt materials, and standard construction waste, goes in your largest zone for roll-off dumpster removal.
The special disposal category captures appliances containing refrigerants, propane tanks, paint cans, and tires. Each requires specific disposal protocols. Contact your local waste management authority for approved facilities and scheduling. This organized approach typically reduces total cleanup time by thirty to forty percent compared to random sorting, getting your property market-ready faster while minimizing holding costs.
Step 5: Assess and Preserve Sale-Worthy Features
Even severely fire-damaged properties contain salvageable features that significantly impact buyer interest and final sale price. Your job now is to identify these assets and actively protect them during the cleanup process.
Start with intact or minimally damaged rooms, a finished basement untouched by smoke, an addition separated by fire doors, or upper floors where damage stopped. Photograph these spaces thoroughly and physically barrier them off during debris removal to prevent accidental damage from cleanup crews.
Walk the property specifically looking for working appliances, quality fixtures, and architectural elements. That six-month-old HVAC system in an undamaged mechanical room, original hardwood flooring in a protected hallway, or custom cabinetry in a smoke-affected but structurally sound kitchen all represent tangible value. Even if you’re selling as-is, buyers calculate these features into their renovation costs.
Don’t overlook exterior elements. Undamaged fencing, mature landscaping, a detached garage, or recently installed windows in unaffected sections can be preservation priorities. Mark these clearly for contractors and cover vulnerable items during demolition work.
Create a “preservation inventory” with photos and estimated replacement values. This documentation helps justify your asking price and gives buyers concrete reasons to choose your property over comparable fire-damaged listings. Many investors specifically seek properties with salvageable high-value components that reduce their total renovation investment.
Step 6: Compile Repair Cost Estimates and Disclosure Documentation
Gather at least three written estimates from licensed contractors for major repairs, structural, electrical, plumbing, and HVAC systems. These bids serve dual purposes: they establish realistic repair costs that inform your pricing strategy and provide concrete documentation buyers need to make informed offers. Request itemized estimates that break down materials and labor separately, as this transparency strengthens buyer confidence.
Assemble your complete disclosure package now. This includes the fire department incident report, all insurance correspondence, structural engineering assessments, environmental testing results (especially asbestos and air quality), and photographs documenting the full extent of damage. Most states require sellers to disclose known material defects, and fire damage always qualifies. Failing to provide thorough disclosure invites legal complications that can derail or reverse a sale months after closing.
Organize these documents in a single digital folder with physical copies as backup. Label each file clearly with dates and document type. This compilation becomes your selling toolkit, essential for setting your asking price, negotiating with buyers, and protecting yourself legally throughout the transaction.
Verifying Your Sorting is Complete and Property is Sale-Ready
You’ve completed the physical sorting, but rushing to list without verification can derail the sale or expose you to legal liability. Before contacting a real estate agent, confirm you’ve assembled the complete foundation for a legitimate transaction.
Work through this verification checklist systematically:
- Insurance documentation finalized: Confirm your claim is processed or officially pending, with all required photos, inventories, and adjuster reports submitted. You need written proof of claim status to disclose to buyers.
- Safety clearances obtained: Secure written confirmation from your fire marshal, building inspector, or structural engineer that the property is safe to enter and show. Without this, you cannot legally allow buyer walkthroughs.
- Disclosure package complete: Assemble all inspection reports, contractor estimates, hazardous material test results, and damage documentation into a single folder. Most states require full disclosure of fire damage and repair needs.
- Sale strategy determined: Decide definitively whether you’re selling as-is, making minimal repairs, or pursuing a full rebuild. This decision drives your pricing and marketing approach.
- Property access secured: Ensure utilities needed for showings are functional (or arrange alternatives), the site is safely accessible, and you have legal authority to show and sell (no insurance or lien holds blocking transfer).
If you cannot check off all five items, you’re not sale-ready yet. Missing documentation creates transaction delays; lacking clearances risks legal exposure.
Watch for these signs you need additional professional assessment: buyers or agents expressing concern about undisclosed damage, your insurance company requesting further evaluation before closing your claim, or city inspectors flagging issues you haven’t addressed. When structural uncertainty remains, sagging floors, questionable foundation integrity, or unresolved electrical hazards, hire a licensed engineer for a definitive report before listing. That upfront cost prevents deals from collapsing during buyer inspections.
Verification isn’t bureaucratic busywork. It’s the difference between a clean sale and a lawsuit.
What Happens After Sorting: Your Next Steps Toward Sale
With your sorting complete and documentation organized, you face three distinct selling paths. An as-is sale means listing the property in its current damaged state, typically attracting investors or developers who’ll handle repairs themselves. You’ll close faster (often within 30-60 days in 2026’s active investor market) but accept a lower price reflecting repair costs and risk. An investor sale specifically targets cash buyers who specialize in distressed properties, offering the quickest exit with minimal additional work required from you. The repair-then-sell approach involves completing structural fixes and cleanup before listing, potentially recovering more value but extending your timeline by three to six months and requiring upfront capital.
Finding the right real estate professional transforms this process from guesswork into strategy. Seek agents with documented experience selling fire-damaged properties, not just standard residential listings. They understand valuation adjustments for damage, know which investors are actively buying in your area, and can navigate disclosure requirements without derailing deals. Ask candidates how many distressed properties they’ve closed in the past year and request references from those sellers.
If you’re considering a digital presence to attract buyers directly, ensure your property sale website is professional and trustworthy. Many sellers also choose a marketing agency to amplify visibility. Technical basics matter too: prevent site downtime and renew SSL certificates to maintain credibility with potential buyers browsing online.
Timeline expectations for 2026 vary by path. As-is and investor sales can close in 30-90 days once listed. Repair projects stretch that to four to eight months depending on contractor availability and permit processing times in your jurisdiction.
Common Questions About Sorting Fire-Damaged Property for Sale
Most property owners sorting through fire damage face similar urgent questions about the sale process. The answers often determine whether you move forward immediately or pause for additional steps, so understanding these key issues helps you make informed decisions about your timeline and approach.
How long does the sorting process typically take?
Most fire-damaged properties require 2-6 weeks for thorough sorting, depending on the extent of damage and whether you’re working with professionals. Properties with minor smoke damage might be ready in days, while homes with structural compromise need several weeks for proper documentation and assessment.
Who pays for debris removal and cleanup costs?
Your insurance policy typically covers reasonable cleanup costs, but you’ll need to document everything and get approval before major expenses. Many sellers pay upfront and submit receipts for reimbursement, though some insurers arrange direct payment to licensed contractors.
Can I sell the property before my insurance claim settles?
Yes, though you’ll need to disclose the pending claim and coordinate with your insurer about payment assignment. Many cash buyers specifically purchase fire-damaged properties with unresolved claims, though traditional buyers often wait until settlement.
What am I legally required to disclose to potential buyers?
You must disclose the fire event, extent of known damage, any repairs completed, pending insurance claims, and code violations or condemnation notices. Most states require written disclosure forms; selling “as-is” doesn’t eliminate disclosure obligations.
The choice between selling to cash buyers versus listing traditionally hinges on your timeline and the property’s condition. Cash buyers, often investors experienced with fire damage, close quickly and purchase properties in any condition, but they typically offer 50-70% of the repaired value. Traditional sales through real estate agents take longer and require more preparation, yet they often yield higher prices if the property has salvageable features or desirable location.
Whether to repair before selling depends on your financial position and local market conditions. Minor repairs that improve safety and appearance, clearing debris, securing the structure, removing hazards, usually increase your sale price enough to justify the cost. Major structural repairs rarely return full value unless you’re in a strong market with high demand. Run the numbers: if a $30,000 repair adds only $25,000 to your sale price, selling as-is makes more financial sense.
Sorting through fire damage feels impossible at first, but the methodical approach you’ve followed transforms chaos into a clear path forward. By prioritizing safety, documenting everything thoroughly, and assessing what matters for the sale, you’ve taken control of a situation that initially seemed unmanageable.
The organized process you’ve completed serves multiple purposes. Your documentation protects your insurance claim and provides transparency to buyers. The strategic sorting helps you understand your real options, whether that’s an as-is sale, working with an investor, or pursuing selective repairs. Most importantly, you’ve gathered the information needed to make informed decisions rather than desperate ones.
Fire damage doesn’t mean you’re stuck. The groundwork you’ve laid positions you to move forward on your terms, with realistic expectations about timeline and value. You’ve done the hard work of converting an emotional crisis into a business transaction.
The property may have changed, but your ability to navigate the sale successfully hasn’t. Trust the process you’ve followed, lean on the professionals you’ve consulted, and take the next step with confidence.